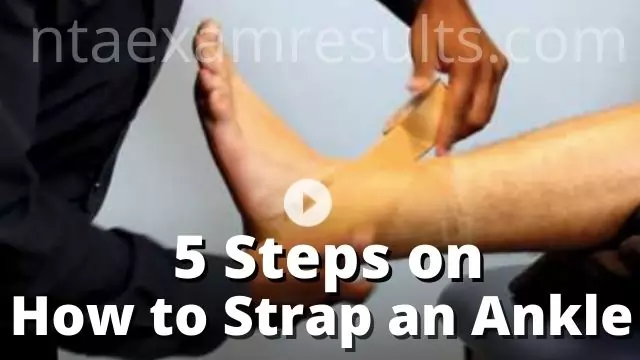
How to strap an ankle is a generally asked question. Finally, our blog is going to answer on your most searched query on How to strap an ankle . Get ready to know the Ankle strapping process in five steps. Let’s dive in the article to understand and see How to Strap an Ankle in Five Steps
How to strap an ankle is one of the most common questions that we are asked by our patients. It’s important to know exactly what the problem is in order to treat it correctly. Ankle supports and ankle braces come in many different forms and price ranges. It is important that you find one that works for your needs and one that is comfortable. There are some common questions that people ask about using these support products.
Many people ask how to wrap an ankle. Wearing tape over your ankle is not recommended, because the tape can easily rub and irritate the skin. Here, we’re going to go over how to strap an ankle properly, why people tape their ankles and when to visit a physiotherapist for advice on any possible ankle problems. As your strength, flexibility and balance improve, you will wean yourself off the tape. However, remember that you should not wear pre-wrap ankle supports while you are healing.
What happens if you are trying to wear an ankle support and the tape irritates your skin, sprains or tears the skin? The first thing to do would be to discontinue usage. Let your feet heal for a day or two and then start wearing the tape again. You may experience slight discomfort, but this will be overcome with time. The chances of you tearing or spraining your ankle are low when you stop applying the wrap after a few days.
After you have stopped using the tape, the next question that people often ask about pre-wrap is whether they are going to need specialised equipment for each application. This is not true. If you are using a specialised tape like the Step 3 Stretching Stirrups, you will need less than a pair of cleats. The basic equipment required for each application will be the same as for the wrap.
To start your application, remove the tape from around your ankle. Cleanse the area with plain water and soap. Apply a generous layer of cream and moisturiser. It is also advisable to add some lanolin cream to the water to prevent the tape becoming sticky. This can be applied all around the tape to prevent it becoming damaged.
When you are ready to begin applying the tape, step onto the surface that is comfortable to you. It is important to keep a straight back, so that your spine does not slouch forward and place pressure on the injured ankle. Spread your legs out gently to allow blood flow through the area, which should be kept clean and free of debris. Apply pressure to the injured ankle in small, circular movements. Never apply too much pressure, as you could cause further damage. Continue this movement until you feel that the pain has been reduced or relieved.
Also Read ,
- How to watch The Bachelorette 2021
- How to make a chatterbox
- How to vote Voice Australia
- How to watch VENOM 2 in Australia
- Pubg new state Download Link
- Pegasus Software Download
- The Wall Game Show Australia
- How much are Billie Eilish tickets
Once you have completed the taping and cleaning process, fix the knot at the top of the ankle. Use a safety pin to secure the tape around the ankle. If using a regular taping method, the tape can be slipped over the end of the knot and wrapped around the upper leg once the tape is secured. This can be easily adapted to the use of a fixomull tape, as this is a far simpler and more straightforward application.
With your feet hip-width apart, tape the front of the heel up to about halfway up the ankle. Secure the heel with another knot, making sure that the tape is pulled tight. Once you have wrapped the heel, taper off to the lowermost part of the foot, where you are working to fix the first metatarsal. Repeat the same process for the second foot.
You might find some more interesting articles relevant like
1 thought on “How to Strap an Ankle in Five Steps [ Ankle strapping process ]”