We all remember our childhood days. Chatterbox or say Fortune Teller was crazy stuff we used to be engaged with. Here in this article, we will be sharing Step by step methods to make a chatterbox or how to make a chatterbox. This will surely help you to make a paper chatterbox at home and on your own. so let’s begin the article to know that how to make a chatterbox step by step.
How to make a chatterbox is one of those questions that are asked by many a child when he/she starts attending Moms and Pop stores. Chances are, your child is just as fascinated by the prospect of creating a toy like the one Moo makes as you are. The truth is, this is not as difficult as it may sound. If you put two pieces of wood together and then attach some hinges to them, you can certainly build your own Moo Chatterbox!
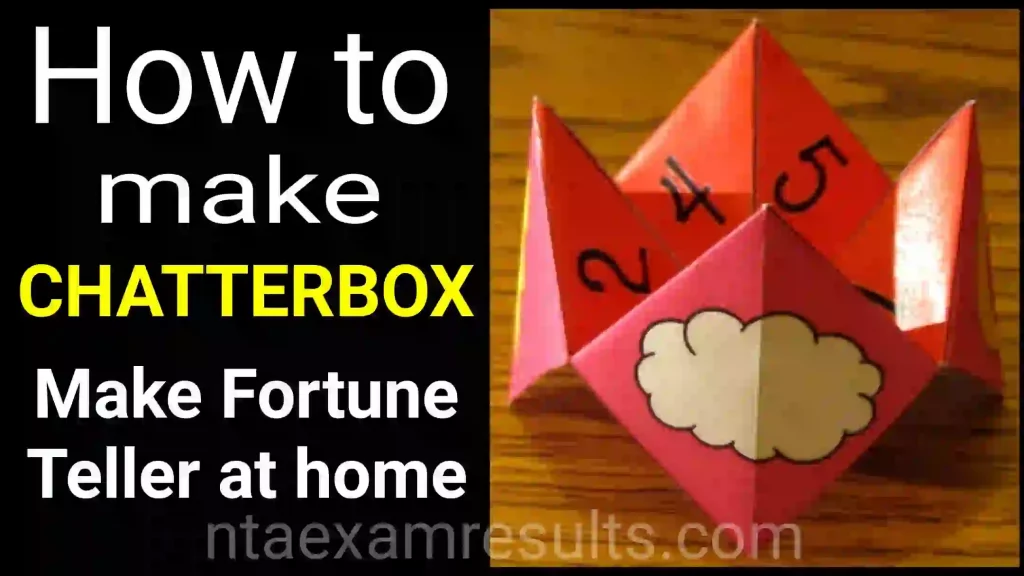
How to make chatterbox step by step
To make a Chatterbox is quite simply, attach a remote control handle to the a4 piece that rotates in a circle above the four different points on the bottom of the piece. Next attach two of the hinges and push the handle down until it clicks into place. Finally, push the two hinges together and repeat the process for each corner of the a4 piece. When finished, pull the handle back up and you have your very own instant chatterbox!
The first step in how to make a chatterbox is to start with the right colour of fabric. Your child needs to be able to see the different colours of fabric being displayed on the screen, so let’s go with the bright reds and yellows. Once you have selected your fabrics, you will need to take apart one of the sections on the Moo and find the little rubber ducky that goes with it. Match up the colours of fabric with the corresponding colours that go on the Moo.
Once you have done that, carefully assemble the pieces and put them back together. Once you have done that, carefully pull the fabric snugly around the handle and push it down into place. Once that is done, write four different colours of paper onto the other side of the rubber ducky. (Your child will be amazed at how easy this is, but don’t worry. It isn’t difficult, it just takes a little bit of time.)
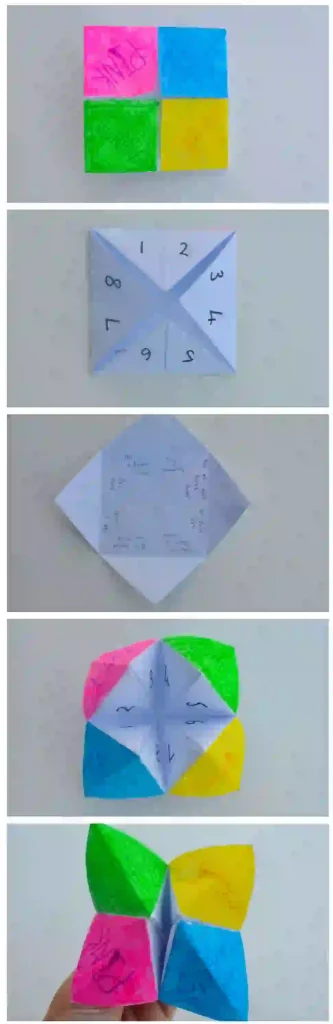
Now you will want to make another panel for your child to write on. This panel should be the same size as the first panel, but it will have two spaces in it. You will also use two different coloured strips to write four different colours onto the flap board. When your child is finished, the end result should look something like this:
Once your child has written all that four colour papers onto the flap board, take apart the whole flap board. Using scissors, cut along the four sides of the flap. (The top and bottom should be clean because ink will seep through if you do this with a normal pair of scissors!) Once you have done that, you should spray the pieces with the glue for gluing. If you want to finish it off, put a finishing gloss on it, and then let it dry.
Your child will probably want to play with their new toy. If so, it is time to assemble your child’s favourite characters on the board, like Minnie Mouse, Donald Duck, and so forth. The best thing about making a board like this is that it is very easy.
Once that is done, how to make a chatterbox with your child is a matter of putting together the pieces and playing with your child. Let them play with it, write on it, and let them play with their new toy. You will find that they will have a great time with it. After all, this was only an idea behind a wooden board. If you can imagine it, there is probably a way to make a chatterbox like this!
Also listen – Nachi Nachi Kem Cho Song


Related Articles that can help you ,
4 thoughts on “How to make a ChatterBox | How to make a chatterbox step by step”